Transforming Ubuntu to the Next Level
Transforming Ubuntu to the Next Level

In this post, I will be continuing the installation of Ubuntu WSL on Windows. I will be now transforming it to the next level. The software that I will be using will be Windows Terminal, Ubuntu, and Fish Shell.
Preparation
- First of all, we must update the Ubuntu Package lists and also the software that’s installed in the default installation. So, to do that run the following command:
|
|
- It’s going to take a while as we are updating the Ubuntu Package lists along with the all packages in the system.
Windows terminal
In this installation, I will primarily use Windows Terminal to use WSL and any other kind of shell. It is my preferred choice for doing any shell work in Windows. Here are some reasons to run Windows Terminal:
- Windows Terminal is a highly customizable application for using any kind of shell in Windows
- It is quite fast and has a lot of features which make it very tempting.
- It has quite a good and simple configuration which makes it very easy to configure.
Downloading and Installing Nerd Fonts
By default, Windows Terminal uses the Consolas font. It is good but it does not have the required graphics and options that are required in this installation. A really good option for all the graphics and symbols is using the Nerd Fonts.
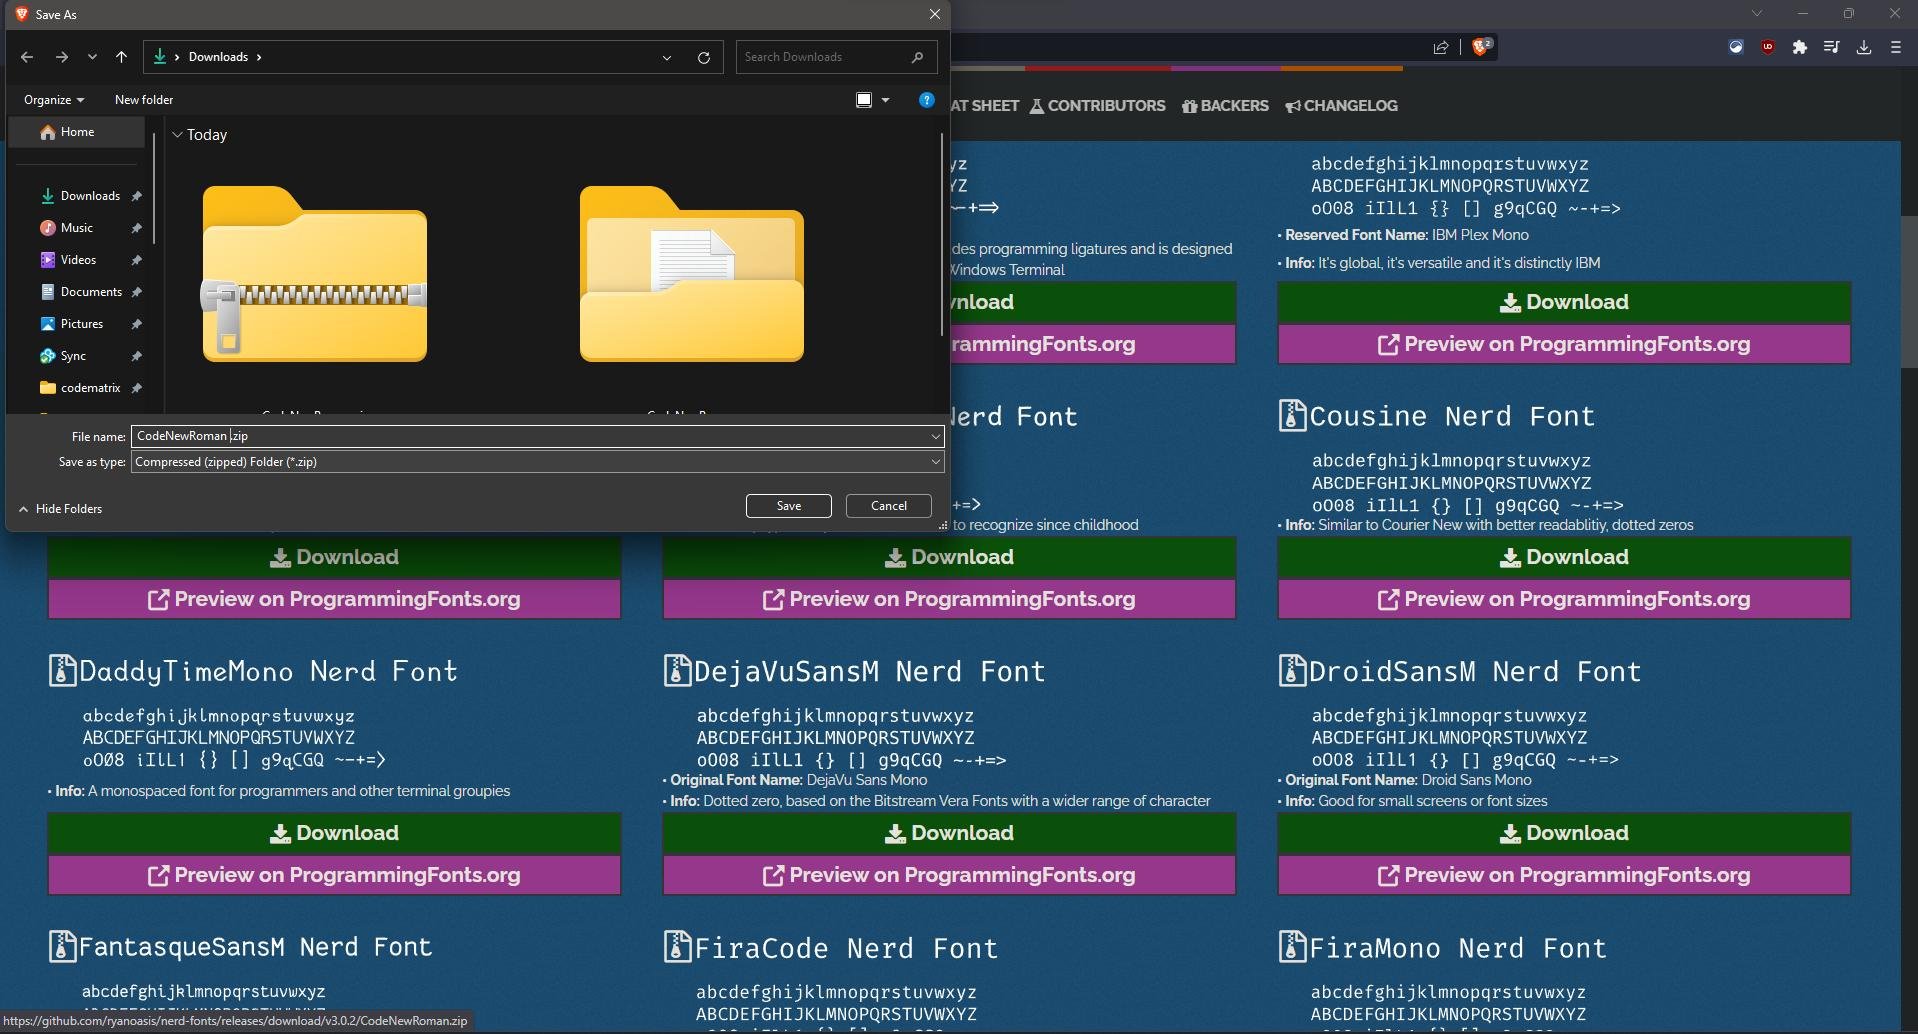
- You can go to their website and download your favourite font. In this installation, I will be installing the CodeNewRoman Nerd Font. You can choose the font of choice.
-
You must install the font for all the users in your system to avoid problems. You must do it by extracting the zip file you downloaded using 7zip or Winrar. Then you must go inside the folder where you extracted the files. Then you must select all the font files. They are generally with extension “.ttf” or “.otf”. Then right-click and click on “Install for all the users”.
-
After, Installing the font you must go to the settings of your Windows terminal. From there you must go into your appearance settings for your Ubuntu Profile.
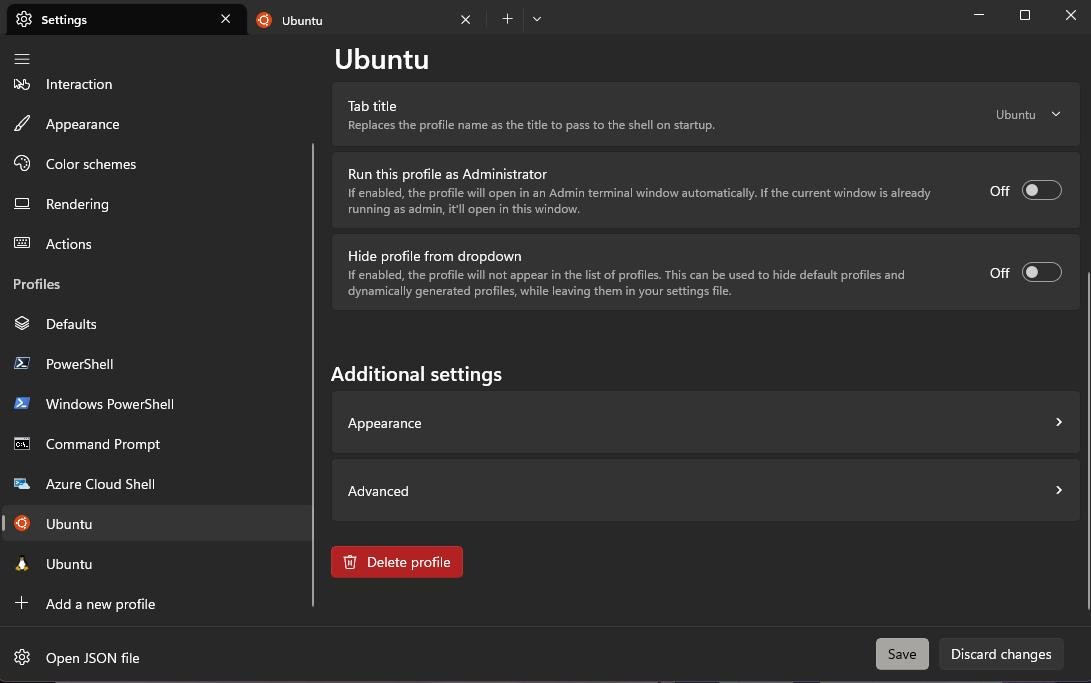
- From the appearance settings, you must select the font that you just downloaded in the font selection menu.
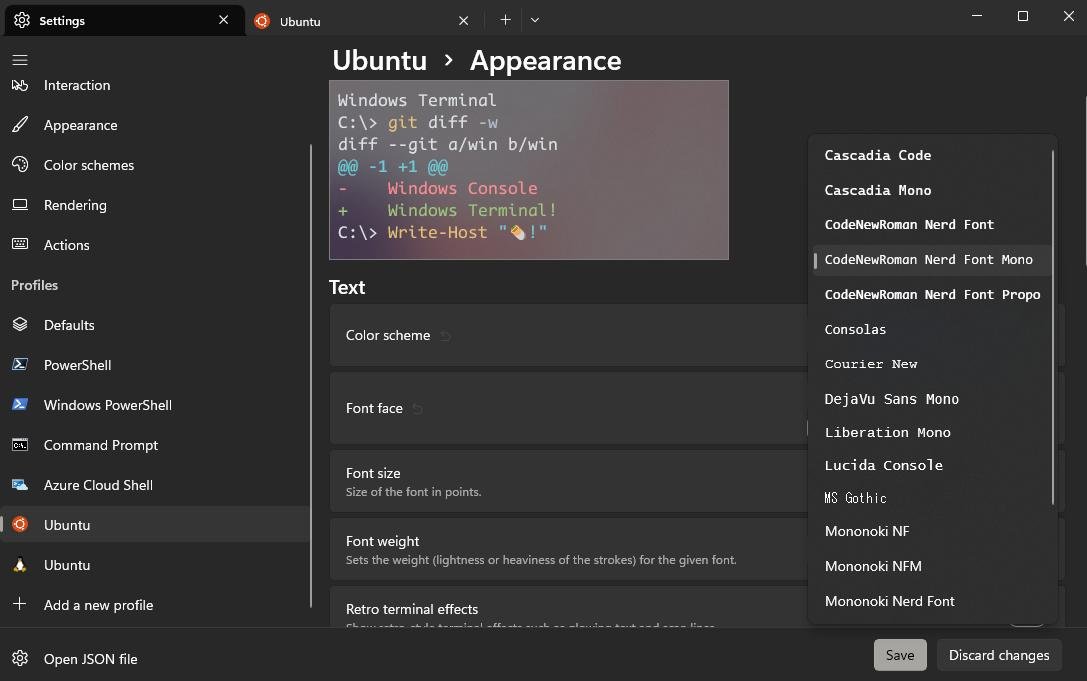
- If all goes well then you have successfully installed the fonts required. Now you can proceed to the next steps. The fun part begins now.
Installing the Fish shell
Fish Shell is a really powerful shell that has a lot of inbuilt features like auto-suggestion, syntax highlighting, and tab completions that work with no configuration required. So, I will be installing the fish shell.
- First of all, we must add the Fish repository in Ubuntu as it allows us to grab the latest version of Fish.
|
|
- Then, we must Install the fish shell.
|
|
-
Then, we must make fish shell the default shell
- First, we have to know the path of the fish shells. Just run
which fishand it should give you the path to the fish shell. - Then, we have to make it our default shell
1sudo chsh -s <path-to-fish-shell> - First, we have to know the path of the fish shells. Just run
-
Then we have to install oh-my-fish. Just run the following command to install it.
|
|
- Now with oh-my-fish, you can choose various plugins and themes for your fish installation. Just type
omf themeand it should give you a bunch of options.

- For this installation, I will be installing the
sashimitheme.
|
|
-
Then you have to configure the fish shell with various aliases and shortcuts. You can see how you can configure fish shell here
-
You can also see my configuration on my GitHub
Conclusion
In this post, we have continued the installation of Ubuntu WSL on Windows, taking it to the next level. By utilizing Windows Terminal, Nerd Fonts, and the Fish Shell, we have enhanced the shell experience. With a highly customizable and feature-rich environment, we have created a seamless and visually appealing workspace. By following the outlined steps, readers can transform their Ubuntu WSL installation, unlocking greater productivity and convenience.